Parrot Box
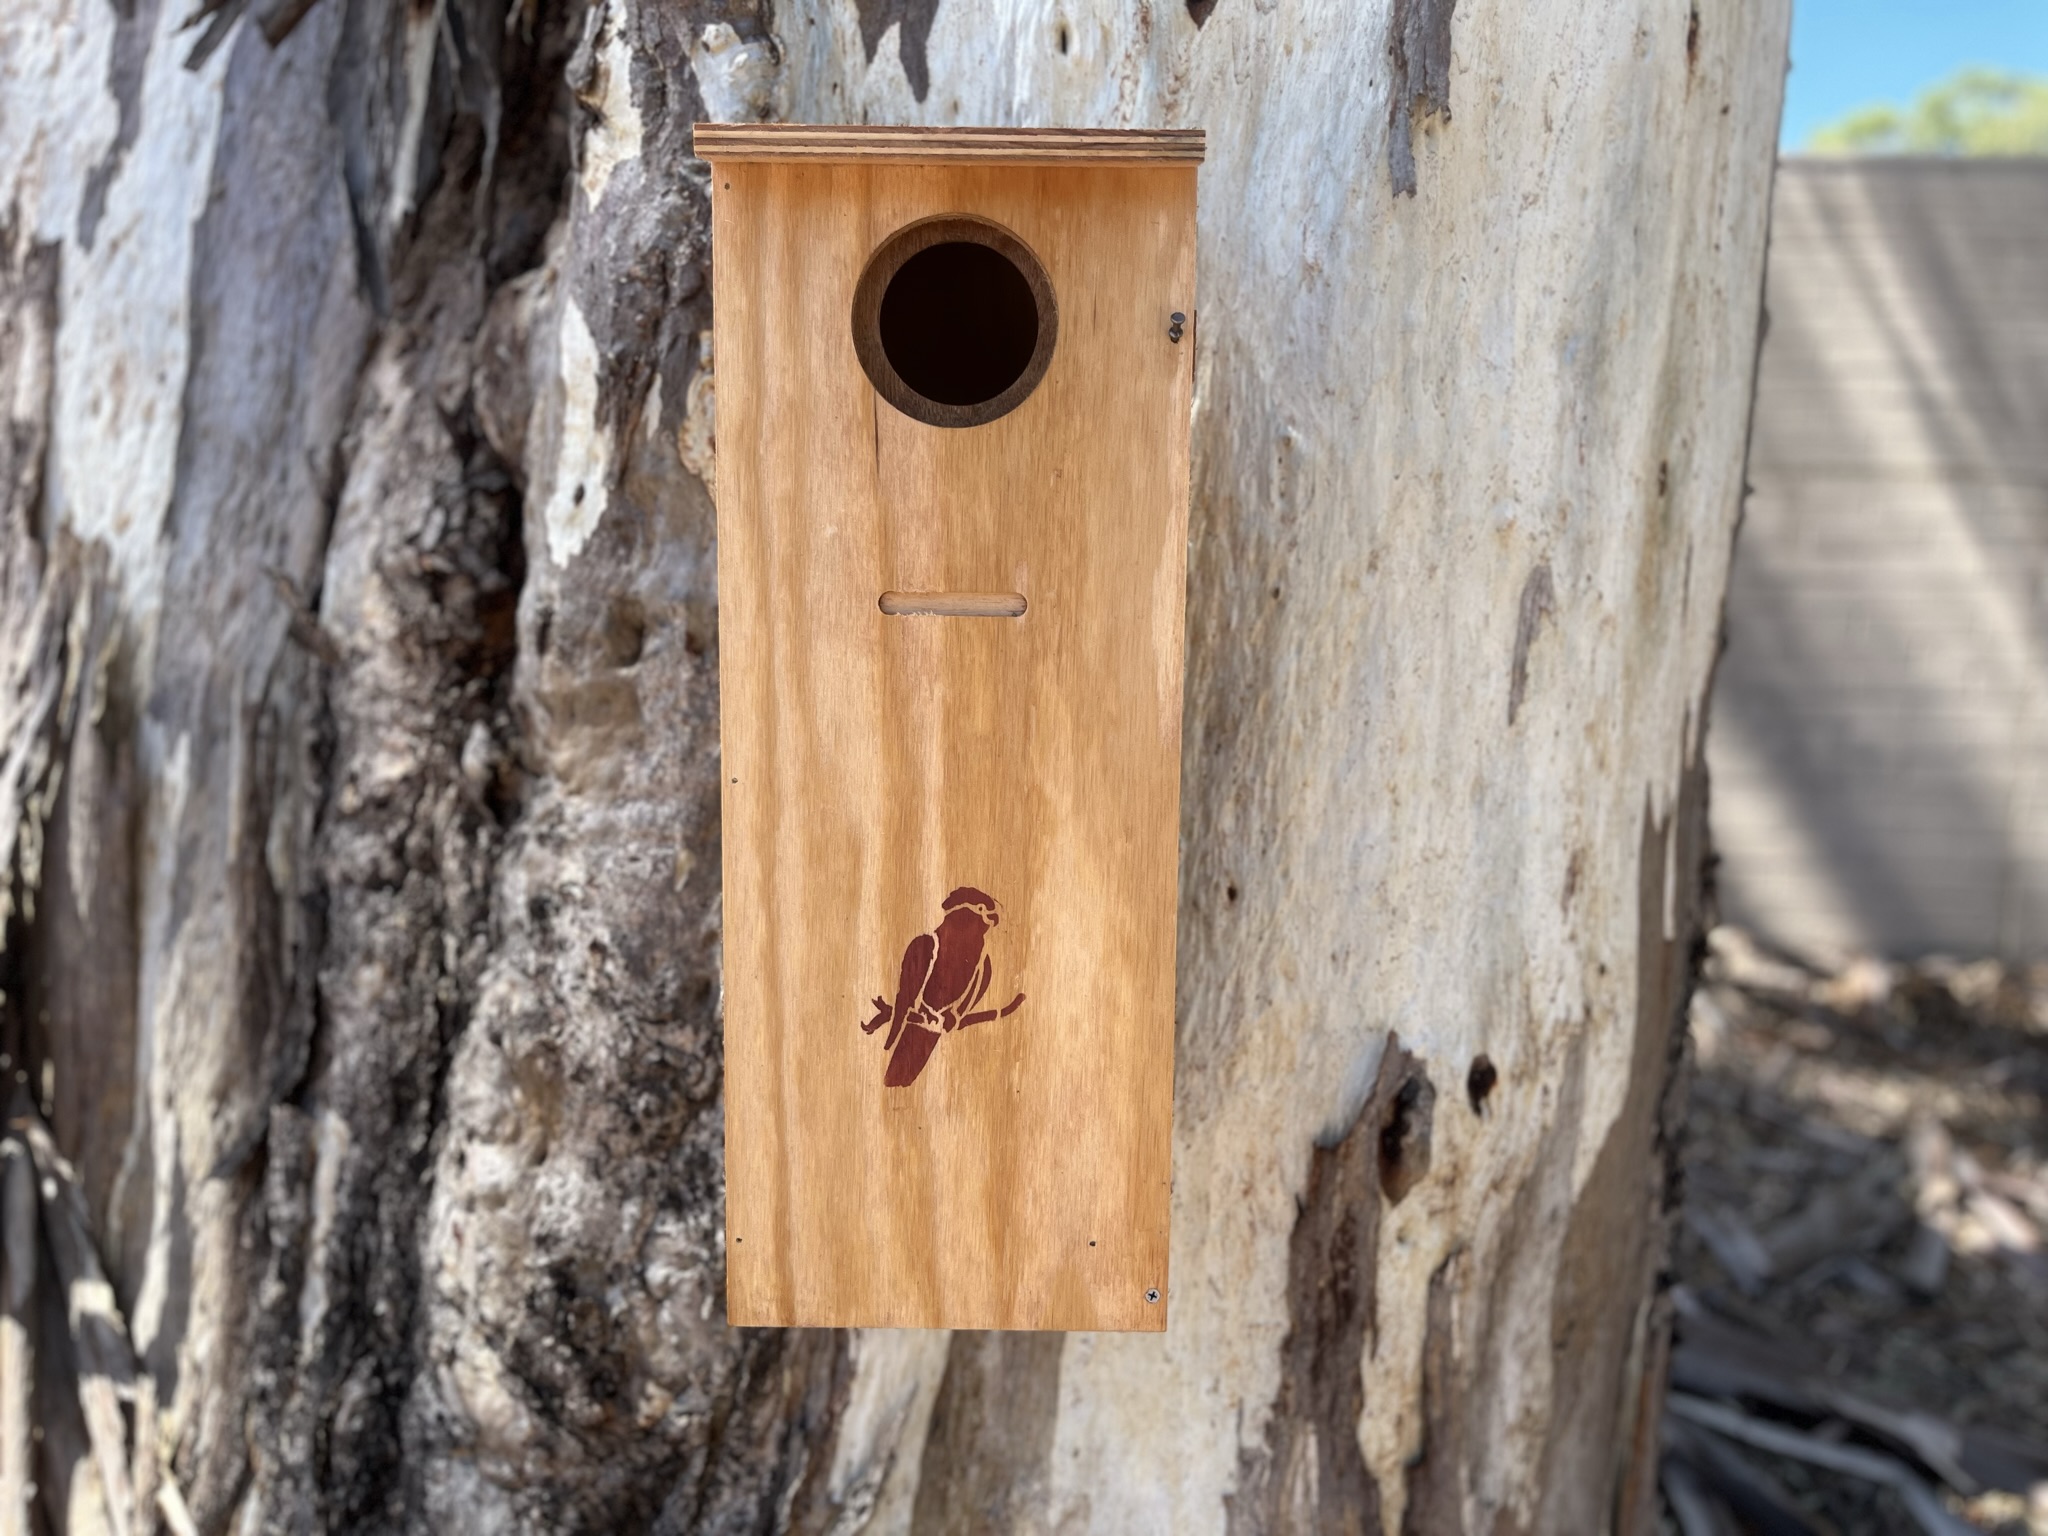
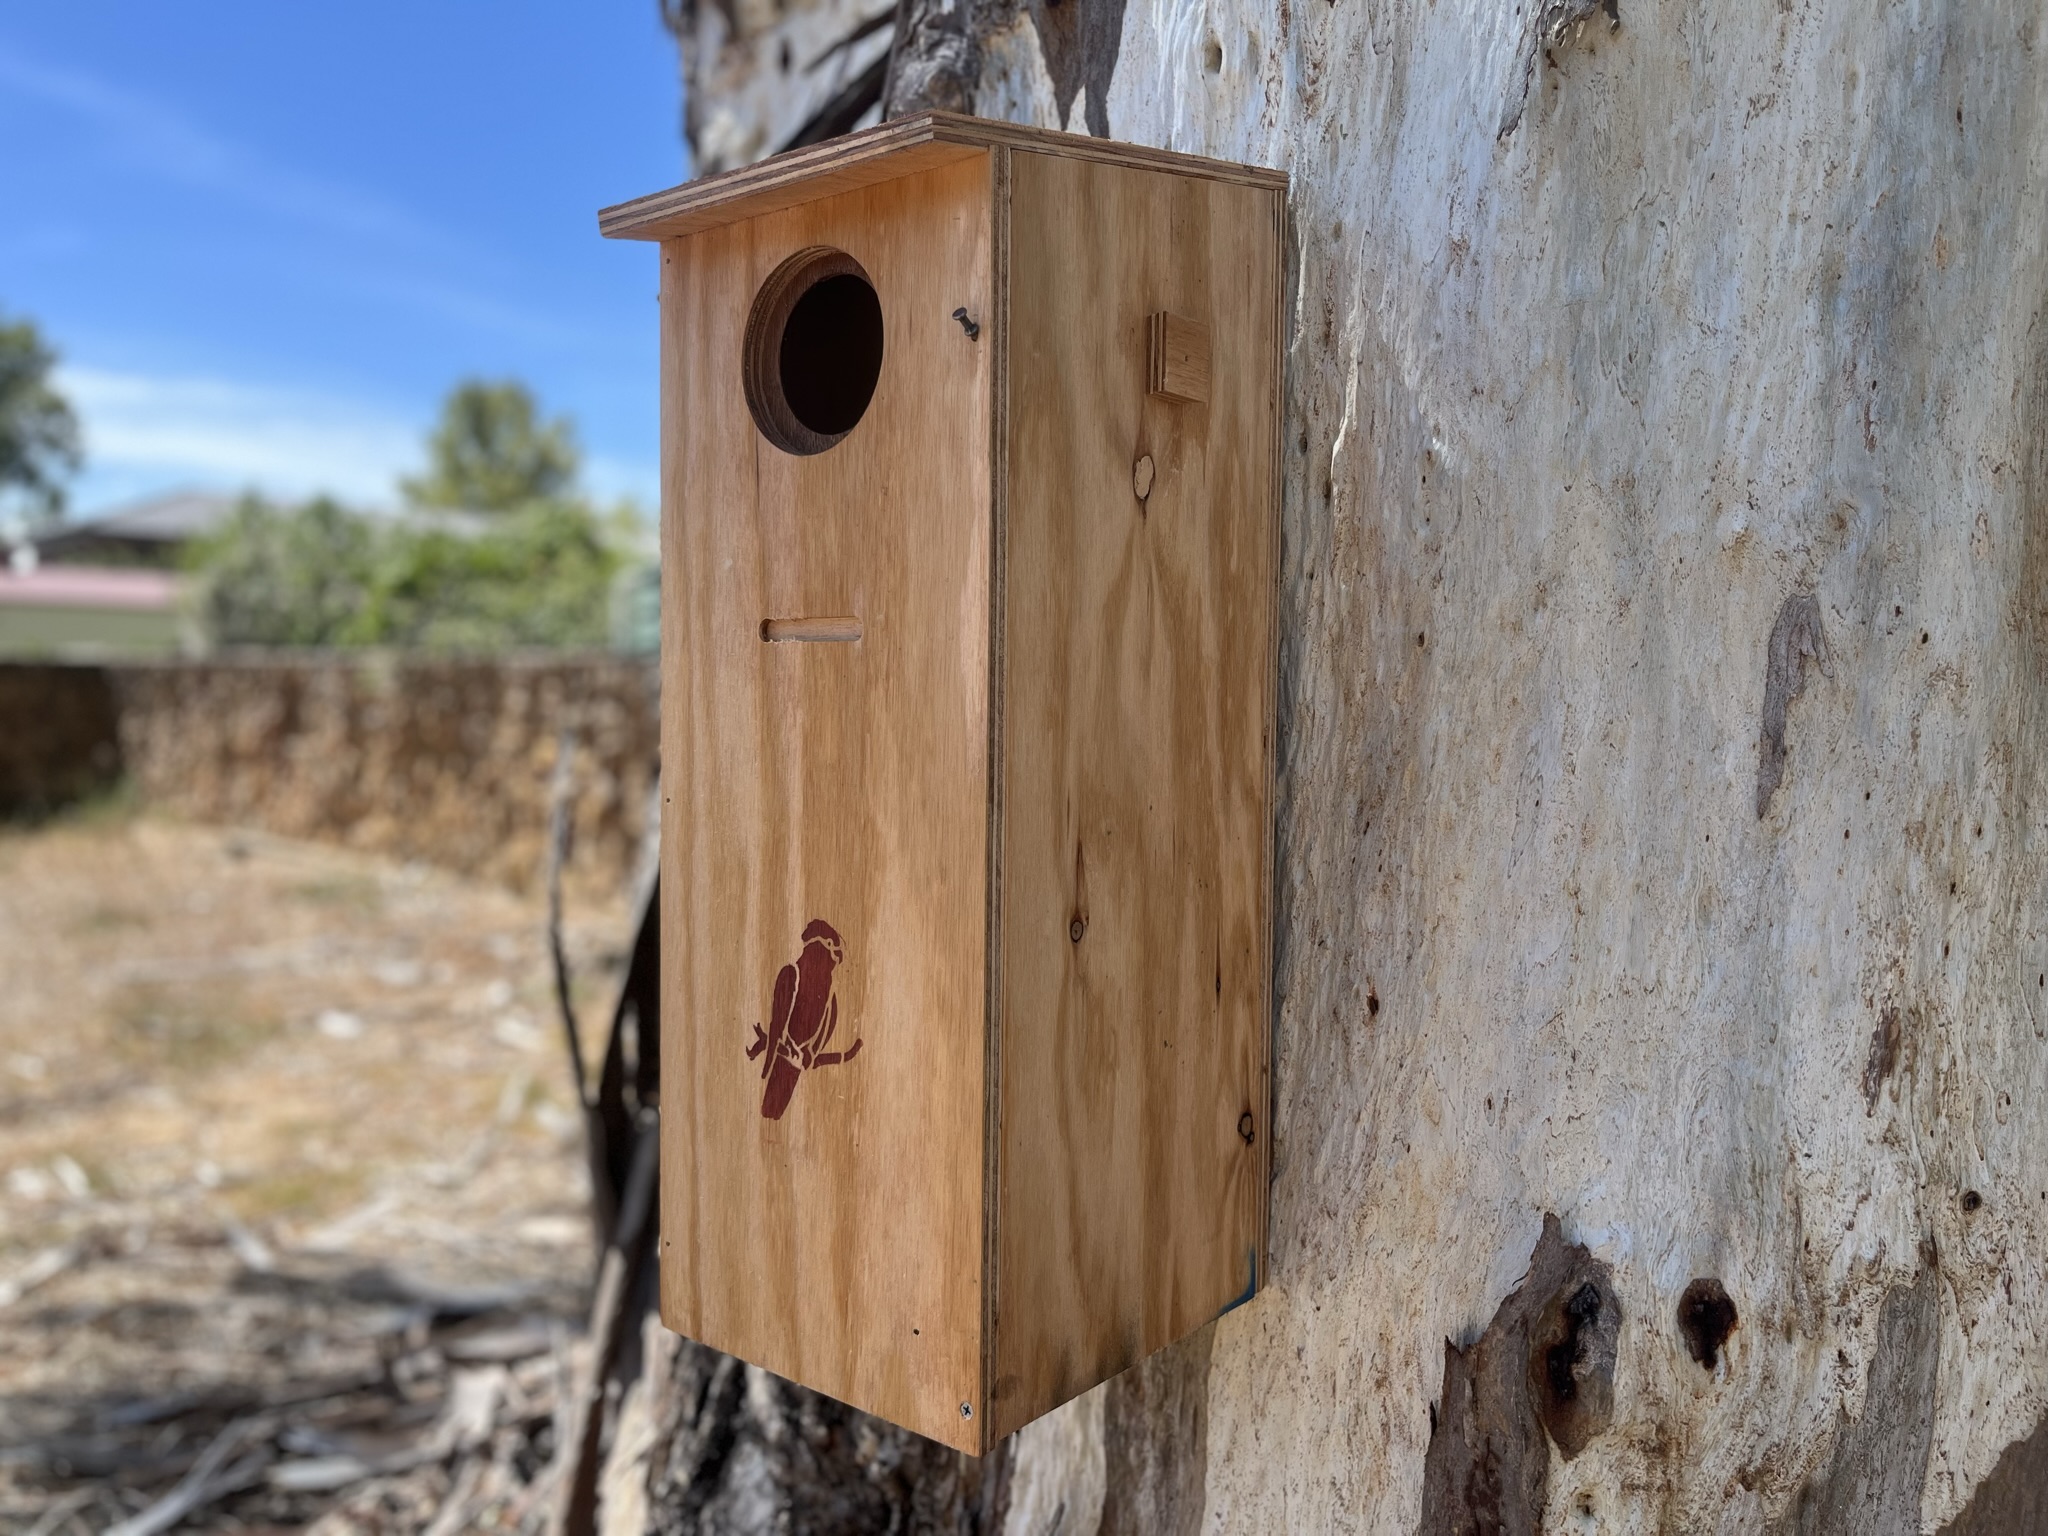
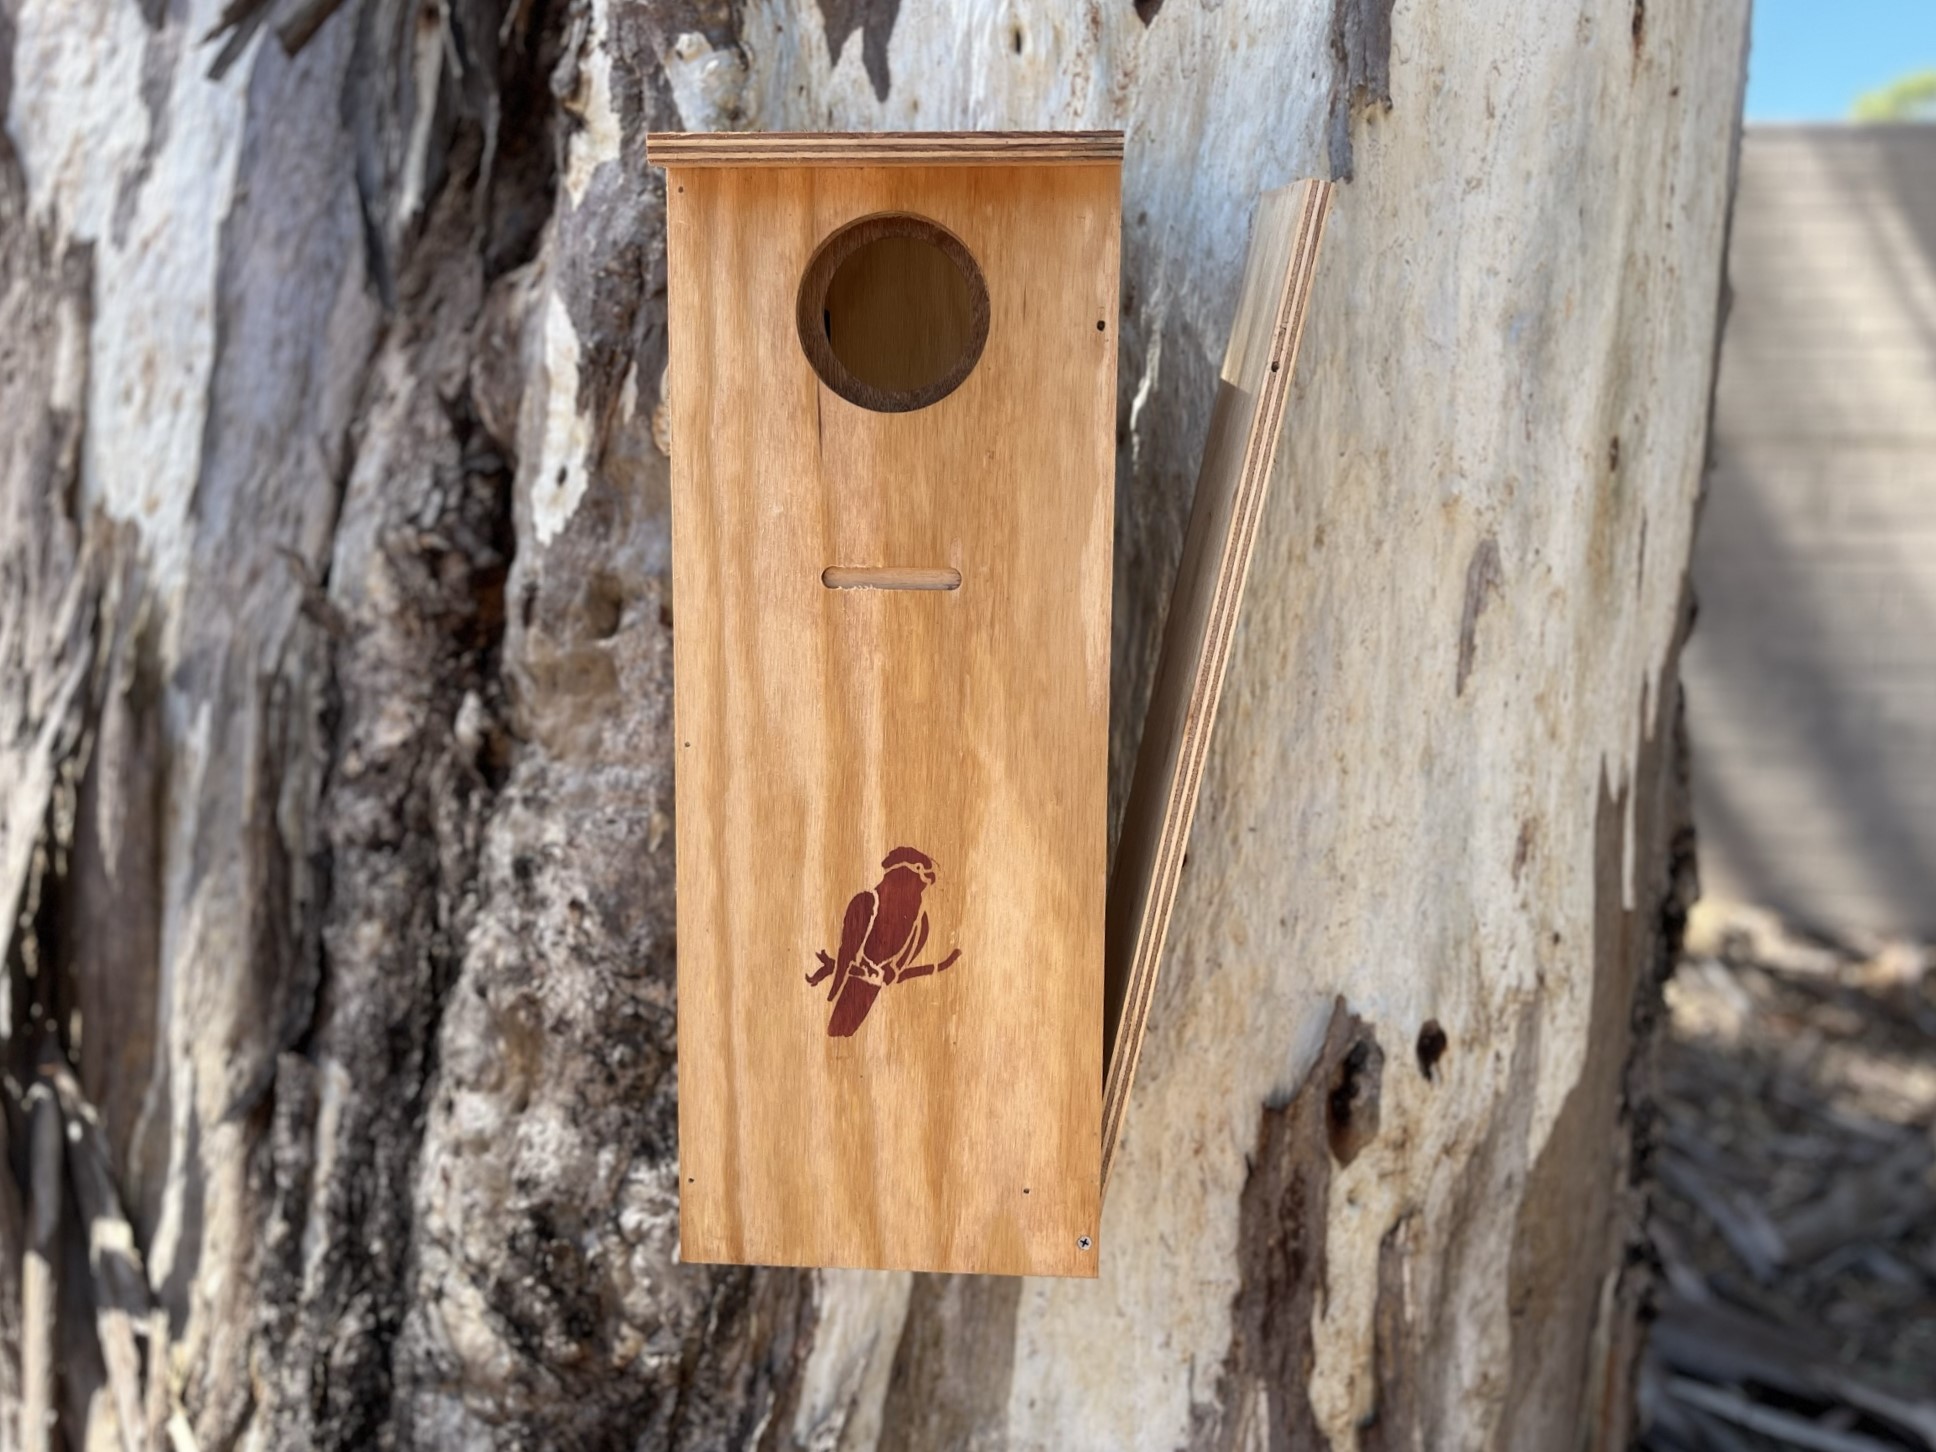
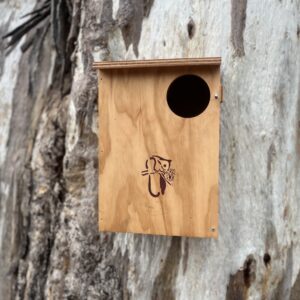
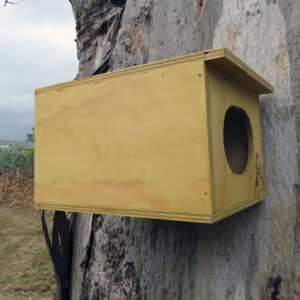
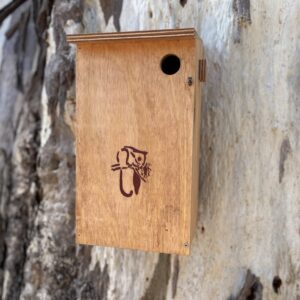
These nesting boxes provide an ideal alternative to a natural hollow for a range of parrots, including Lorikeets, Rosellas and Galahs, where such resources are lacking.
The typical parrot species you may attract to the bird box.
- The Small Parrot Nesting Box is perfect for Rainbow, Musk and Scaly-breasted Lorikeets, as well as Western Rosellas, Red-rumps and other similar sized parrots.
- The Medium Parrot Nesting Box is designed to cater for the majority of the Rosella species, Ringnecks and Red-capped Parrots.
- The Large Parrot Nesting Boxes will support Galahs, Corella species, Major Mitchell Cockatoos and Gang-gang Cockatoos.
Over 50 species of parrots are found throughout Australia. Most of these rely on natural hollows found in living or dead trees as nesting sites. There are however a few specialised parrot species that utilise termite mounds or dense vegetation on the ground. This bird nesting box provides an ideal alternative to a natural hollow for small parrots, where such resources are lacking.
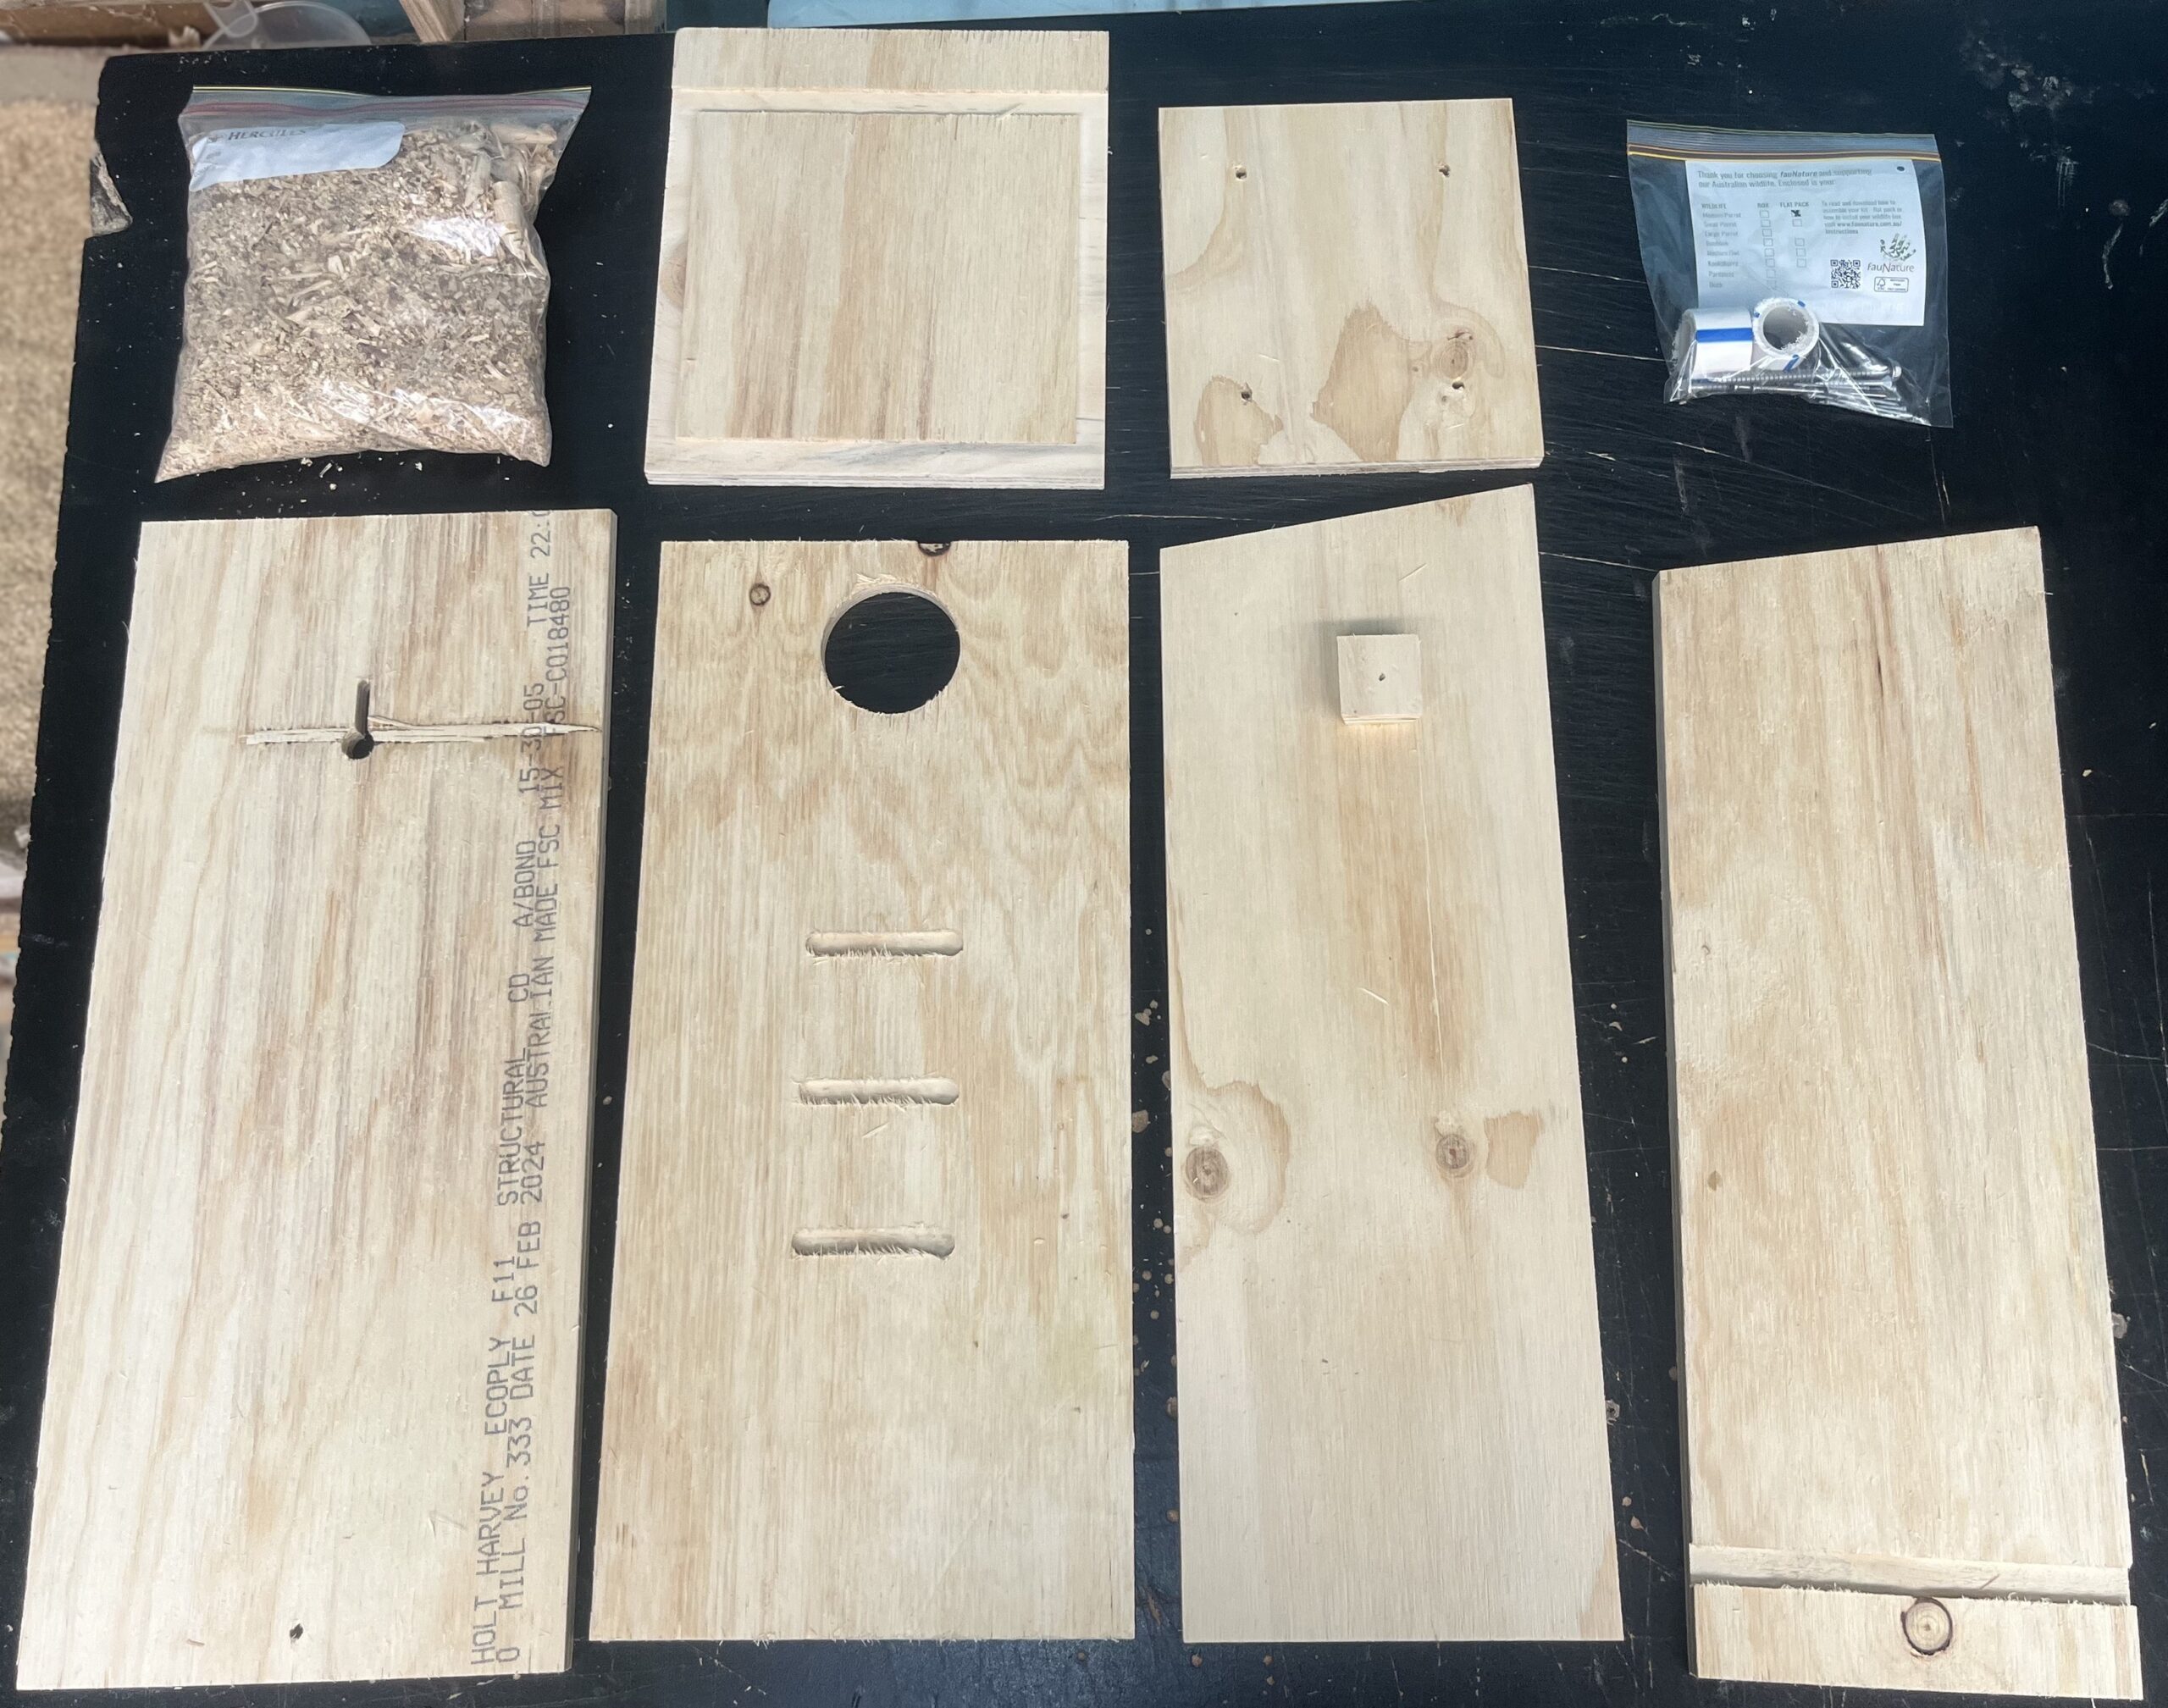
The use of “PV Spacers”, small spacing rings which fit over the tek screws between the tree and the box, is highly recommended and are included in the price.
Collection can be arranged for boxes; alternatively a freight charge will be applied. You will be advised of this cost, before payment is requested.
Extra Small Parrot Box
L = 51cm D = 21cm W = 19cm. Entrance = 35mm.
Small Parrot Box
L = 51cm D = 21cm W = 19cm. Entrance = 63mm.
Medium Parrot Box
L = 57cm D = 27cm W = 24cm. Entrance = 70mm.
Large Parrot Box
L = 67cm D = 33cm W = 25cm. Entrance = 102mm.
Where to site your nesting box?
The ideal time to put up this box is from March to September.
Correctly placing your Bird Box in the right location will help make the best home for your Parrots:
- A mature gum tree is ideal; if not, an exotic tree will do, however, avoid placing it within the
canopy of a dense deciduous tree. - Measure the box 4 – 8m off the ground would be preferable for most parrot species (box as low as 2m off the ground can work but is not ideal).
- Face the box entrance away from the hot sun and the wet winds; northeast through to a southerly direction (for SA).
- Place the box on a vertical or slightly forward-angled trunk, to reduce rainwater entry.
- Hanging a nesting box by wire was historically recommended to prevent damage to the tree. However, the damage done by securing bolts is likely to be minimal; while wire-mounted boxes compromise the tree, if not regularly managed. Three tek screws (100mm) have been included to enable you to affix the box to a tree.
- Simplify the installation and allow tree growth: The use of “PV Spacers”, small spacing rings which fit over the tek screws between the tree and the box, is highly recommended and will be included.
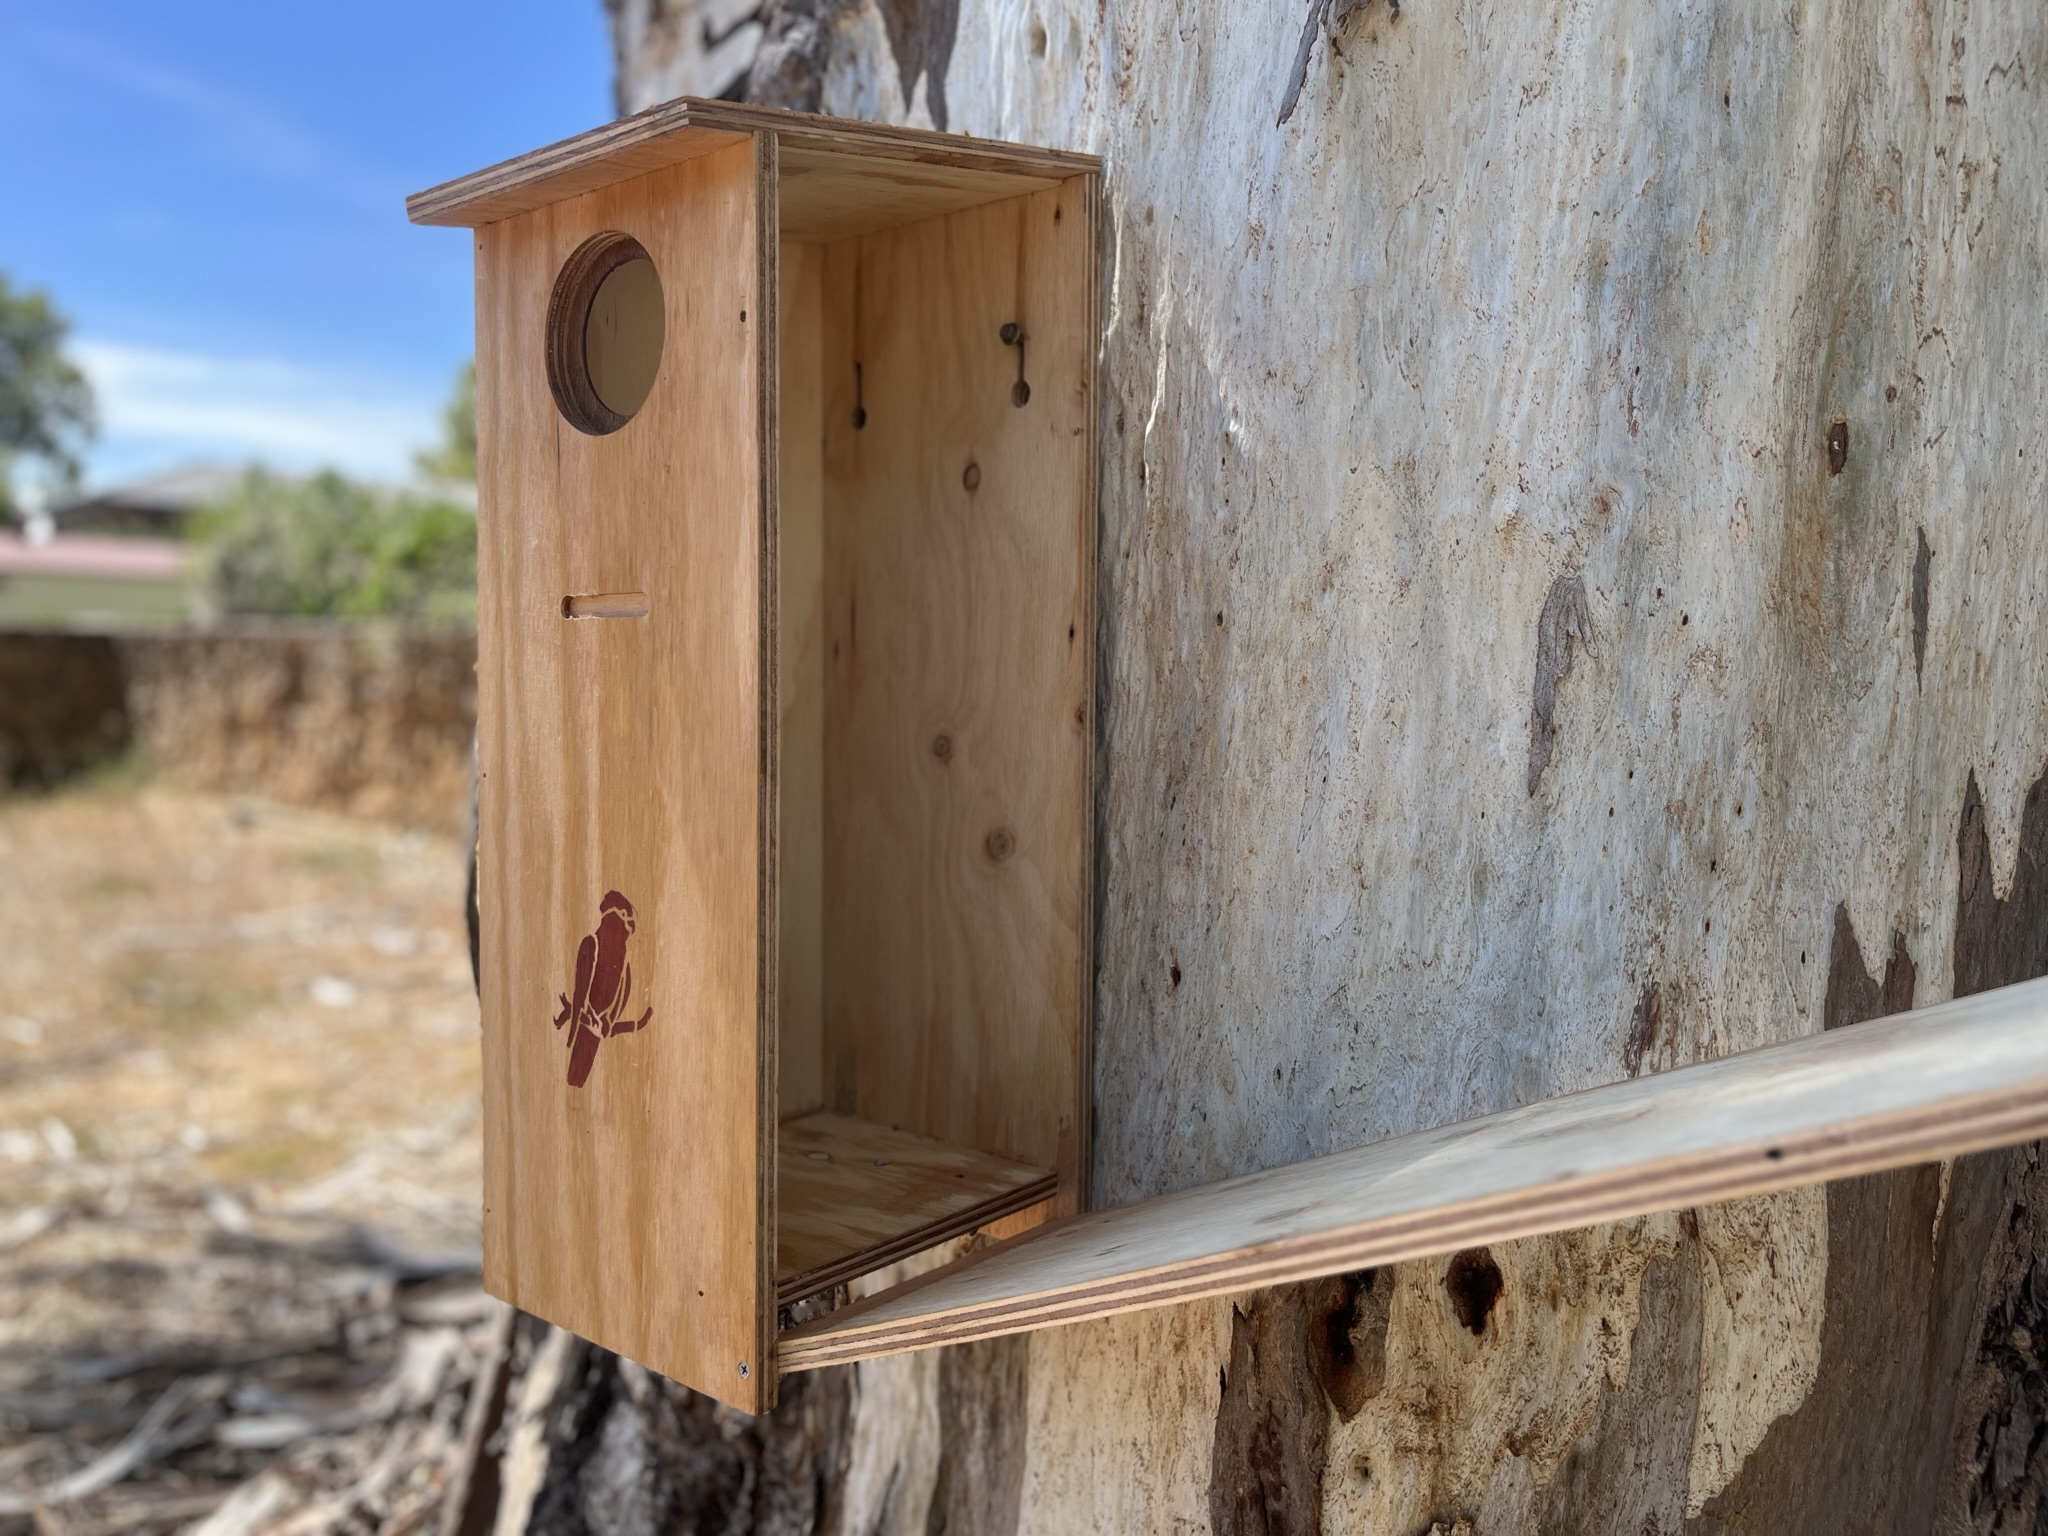
- Once the nesting box is in place – empty the bag of wood chips into the bottom of the box, to serve as nesting material.
The bird box assembling instructions are sent to you by email once you have purchased the fauNature bird box. The instruction can also be found at Assembly Instructions.
An assembled box comes either treated or painted.
- Quality timber certified by Forest Stewardship Council AusNZ.
- treated with non-toxic timber seal
- or when requested exterior quality grade acrylic paint
The flat pack product arrives unassembled and the wood panels are untreated.
Additional materials required:
Water-resistant wood glue.
Drill and drill bits:
1) 2mm and 3.5mm
2) 40mm galvanised screw (13) can be substituted for the 40mm galvanised nail screw if you prefer.
The wood fauNature uses is certified by Forest Stewardship Council AusNZ.
For Treatment options and how to Assemble Your Wildlife Box, you will find both sets of instructions in your inbox once you have purchased the fauNature bird box.
After assembling and treating the bird box and once it is dry the nesting box can be installed at your leisure – following the directions provided in the Installation instructions

